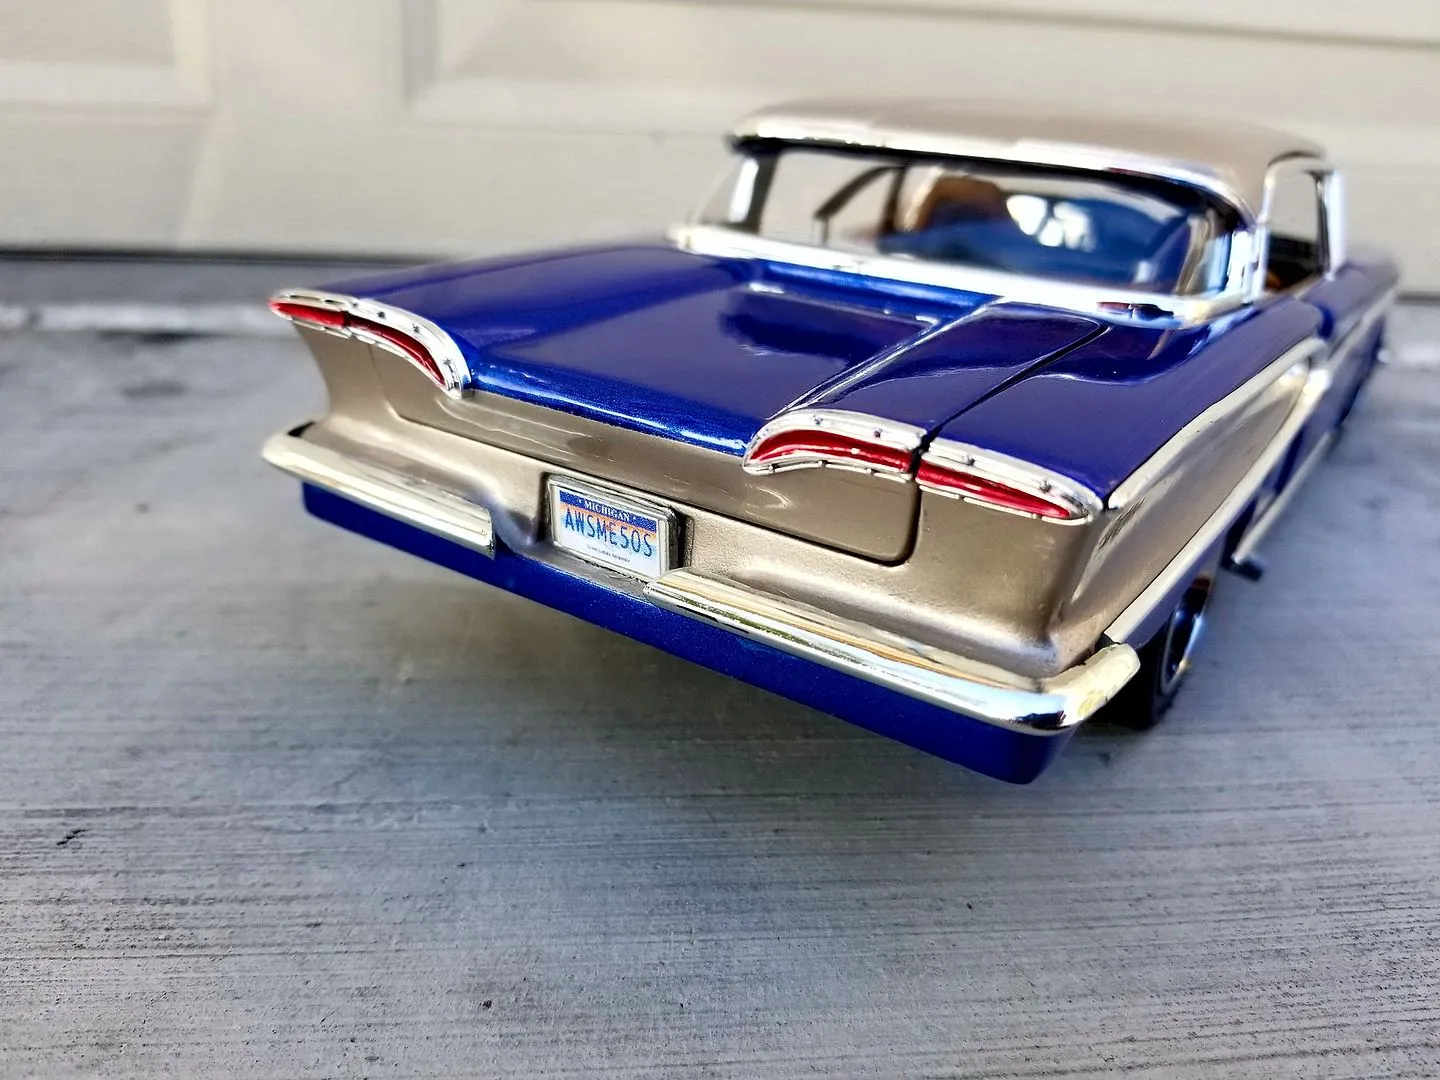
What are Custom Diecast Cars
Custom diecast cars are essentially miniature replicas of real-life vehicles that have been modified and personalized. These aren’t your run-of-the-mill toy cars you find on store shelves. Instead, they are meticulously crafted by hobbyists and enthusiasts who enjoy the process of transforming a standard diecast model into a unique piece of art. The appeal lies in the creativity and skill involved, allowing individuals to express their passion for cars, design, and craftsmanship. This hobby offers a rewarding experience that combines artistic expression with technical skill, providing an engaging outlet for creativity and a sense of accomplishment. Customizing diecast cars is a growing trend, with a vibrant community of creators sharing their work and inspiring others.
Why Customize Diecast Cars
The reasons for customizing diecast cars are as varied as the cars themselves, but several key factors drive this popular hobby. For many, it’s a way to own a miniature version of their dream car, one that may not be readily available or is cost-prohibitive to own in real life. Others are drawn to the creative challenge, the opportunity to design and build something unique and personal. The process allows for a blend of artistic and technical skill, involving aspects of design, painting, and detail work. Customization also allows enthusiasts to replicate specific cars, perhaps a car they owned, admired, or have a connection to. This personalization adds a layer of sentimentality and personal connection that’s hard to match with mass-produced models. Furthermore, the sense of community within the diecast car customizing hobby provides a supportive environment where skills are shared, and creativity is celebrated.
Benefits of Customization

The benefits of customizing diecast cars extend beyond mere aesthetics, offering a range of advantages for the hobbyist. Firstly, it allows for unparalleled personalization. You have complete control over the car’s appearance, from the paint job and decals to the interior and wheels. This results in a car that’s entirely your own creation. Secondly, it provides a satisfying creative outlet. The process involves problem-solving, artistic expression, and the development of new skills. Thirdly, it can be a surprisingly relaxing and therapeutic activity, offering a welcome escape from the stresses of daily life. Moreover, customized diecast cars can appreciate in value, especially those with high quality craftsmanship, making it a fun investment. Finally, it gives you a connection with a like-minded community to share your work and find inspiration.
Different Types of Diecast Cars
Diecast cars come in a multitude of scales, each offering a different level of detail and complexity. The most popular scales include 1:18, 1:24, 1:43, and 1:64. Each scale refers to the ratio between the model’s size and the size of the real car. For instance, a 1:18 scale model is 1/18th the size of the actual car. The choice of scale often depends on personal preference, available space, and the level of detail desired. Larger scales like 1:18 and 1:24 are ideal for displaying intricate details and are often favored by serious collectors. Smaller scales, such as 1:43 and 1:64 (also known as Hot Wheels size), are more affordable and easier to store, making them perfect for beginners. Different car models are available in diecast form, from classic cars and muscle cars to modern sports cars and trucks.
Scale and Size Considerations
When starting a custom diecast car project, understanding the scale and size is crucial. The scale determines the level of detail possible and the overall size of the finished model. Larger scales provide more room for detailed modifications but require more workspace and potentially more expensive materials. Smaller scales are more budget-friendly and easier to handle, but may require more precision work. It’s important to choose a scale that matches your skill level and the type of modifications you plan to make. For instance, detailed interior work is more feasible in larger scales. Consider the size of the real car you’re replicating and the available space for display. Popular scales have a wider selection of aftermarket parts and accessories, which can be a factor when planning your project. Researching the dimensions of the car you are planning to customize and comparing those dimensions to the model’s specifications is a wise idea.
Tools and Materials You’ll Need

Embarking on a custom diecast car project requires assembling a collection of essential tools and materials. Having the right equipment not only streamlines the process but also ensures a better final result. The tools and materials can range from basic to more advanced, depending on the scope of your customization. It’s a good idea to start with the basics and gradually expand your toolkit as your skills and projects evolve. Investing in quality tools will not only improve your work but will also save you money in the long run. Careful selection of paints, adhesives, and other materials will determine the quality of the finish. The key is to build a well-rounded collection of tools that will enable you to handle various aspects of customization.
Essential Tools
A fundamental set of tools is necessary for any custom diecast project. These include a small Phillips head screwdriver set and flathead screwdrivers for disassembling the car, a hobby knife or X-Acto knife for trimming and detailing, and fine grit sandpaper for smoothing surfaces. You’ll also need a set of needle-nose pliers and tweezers for handling small parts. A cutting mat protects your work surface and provides a stable base. A good-quality airbrush or spray gun is highly recommended for applying paint evenly, while a simple paint brush set can be used for detailed work. A magnifying glass can be useful for close inspection and detailed work. Additional tools, such as a Dremel or rotary tool, can be helpful for more advanced projects, allowing for precise modifications and detailing.
Paints and Finishes
Selecting the right paints and finishes is crucial for achieving a professional-looking custom diecast car. Acrylic paints are a popular choice due to their ease of use, low odor, and quick drying times. Enamel paints offer durability and a glossy finish, but they typically take longer to dry and require careful handling. A primer is essential for preparing the surface of the diecast car for painting, ensuring better paint adhesion and a smooth finish. Clear coats provide protection and enhance the shine of the paint job. Decals and detailing paints are used for adding finer details, such as logos, stripes, and interior elements. Consider investing in a variety of colors and finishes to give you creative flexibility, or a specific metallic look. Always follow the manufacturer’s instructions and safety guidelines when working with paints and solvents.
Preparing Your Diecast Car

Preparing your diecast car is a crucial step in the customization process, as it lays the groundwork for a successful project. This phase involves carefully disassembling the car, cleaning the components, and preparing the surfaces for painting. Proper preparation ensures that the paint adheres correctly, resulting in a smooth and professional finish. Skipping this step can lead to paint chipping, uneven surfaces, and an overall less appealing final product. Taking the time to prepare your diecast car meticulously is an investment that significantly improves the outcome of your customization efforts.
Disassembly and Cleaning
The first step in preparing your diecast car involves careful disassembly. Use the appropriate screwdrivers to remove screws and detach the various parts, such as the body, chassis, interior, windows, and wheels. Take photos or make notes during disassembly to remember how the parts fit together. Once the car is disassembled, thoroughly clean each component to remove any dirt, grease, or factory coatings. Use warm, soapy water or a specialized degreaser. Rinse all parts thoroughly and allow them to dry completely. This cleaning process ensures that the new paint will adhere properly and helps prevent any unwanted reactions or imperfections in the finish. Pay special attention to areas like the interior, where dust and debris can easily accumulate.
Sanding and Priming
After cleaning, the next step is sanding. Lightly sand the surfaces of the car body and other parts to create a smooth surface for the paint to adhere to. Use fine-grit sandpaper to avoid scratching the surface too deeply. Pay attention to any imperfections or rough spots, such as mold lines or imperfections in the original paint. After sanding, wipe the surfaces clean to remove any dust and debris. The next step is to apply a primer. Primer provides a uniform base coat, helps the paint adhere better, and can also fill in minor imperfections. Apply the primer in thin, even coats, allowing each coat to dry completely before applying the next. Once the primer is dry, you can lightly sand it with fine-grit sandpaper to create an even smoother surface for painting. This thorough preparation ensures a professional-looking paint job.
Painting Your Custom Diecast Car

Painting is where your vision comes to life. Whether you’re aiming for a factory-fresh look or a wild custom design, the paint job is a defining element of your project. It’s essential to work in a well-ventilated area and to wear appropriate safety gear, such as a respirator and gloves, to protect yourself from fumes. Taking your time and applying thin, even coats of paint will result in a superior finish. Don’t rush this process, and be patient. Allow the paint to dry completely between coats. The final result will be a testament to the care and attention you put into this essential step.
Base Coats and Color Choices
Start by selecting your paint colors. Consider the overall design and the effect you want to achieve. Apply the base coat of paint in thin, even layers, using an airbrush or spray gun for best results. Apply multiple coats, allowing each coat to dry completely before applying the next. This prevents runs and ensures a consistent color. If you are using multiple colors, carefully mask off areas before applying each color. Use painter’s tape specifically designed for hobby work to avoid damaging the paint. Consider the lighting conditions in which your custom diecast car will be displayed and how this might affect the appearance of the colors. Metallic paints can add a realistic shimmer, while matte finishes offer a more understated look.
Applying Decals and Details
Once the base coat is dry, it’s time to apply decals and add finer details. Decals can significantly enhance the look of your custom diecast car, adding logos, stripes, or other graphic elements. Carefully cut the decals from their sheet and apply them to the model using water or a decal setting solution. Use a soft cloth or cotton swab to remove any air bubbles. For details, use fine-tipped brushes or paint markers to add elements like headlights, taillights, and trim. Consider using washes to enhance panel lines and add depth to the model. A steady hand and patience are key to achieving a professional finish. Proper lighting and magnification tools can also be helpful for this delicate work.
Clear Coating and Finishing Touches

After the decals and details are applied, the final step is to apply a clear coat. The clear coat protects the paint and decals, and it gives the car a glossy or matte finish, depending on the type of clear coat you choose. Apply the clear coat in thin, even coats, allowing each coat to dry completely before applying the next. After the clear coat has dried, you can lightly sand it with very fine-grit sandpaper to remove any imperfections and create an even smoother finish. Polishing the car can further enhance the shine. Ensure the clear coat is fully cured before reassembling the model. Carefully inspect the car for any remaining imperfections and make any necessary touch-ups. The clear coat is a critical step in protecting your custom diecast car and enhancing its overall aesthetic appeal.
Putting it all Together
Once the painting and detailing are complete, it’s time to reassemble your custom diecast car. This phase requires careful attention to detail and a good memory of how the car was originally assembled. Take your time, work in a well-lit area, and avoid forcing any parts together. The goal is to restore the model to its original form while preserving and showcasing the new paint job and any added modifications. With patience and precision, you can create a stunning final product. The reassembly stage is the culmination of your efforts. Carefully attaching each component is a must and results in an extraordinary custom creation.
Reassembly and Final Details
Carefully reassemble the car by reversing the disassembly process. Refer to your notes or photos to ensure all parts fit correctly. Start with the chassis and interior, then attach the body panels, windows, and wheels. Pay attention to any small parts, such as mirrors, door handles, and lights. Use the appropriate adhesives to secure these parts, if necessary. Check for any gaps or misalignments and make any necessary adjustments. Clean the windows and other clear parts to remove any fingerprints or smudges. Finally, inspect the entire model for any remaining imperfections and make any final touch-ups. Carefully examine all the details to make sure everything looks perfect. The reassembly is the final stage of the process and should be completed with extreme care.
Displaying and Sharing Your Custom Diecast Car

Once your custom diecast car is complete, it’s time to display your work and share it with others. A well-displayed model is a source of pride and enjoyment. It also allows you to showcase your skills and creativity. Consider investing in a display case or shelf to protect your car from dust and damage. Create a visually appealing arrangement of your custom diecast cars. Join online communities or local car clubs to share your creations with other enthusiasts. You may also consider taking professional-quality photos of your custom diecast cars. Sharing your work is a rewarding experience, and it can also inspire and connect you with other hobbyists.