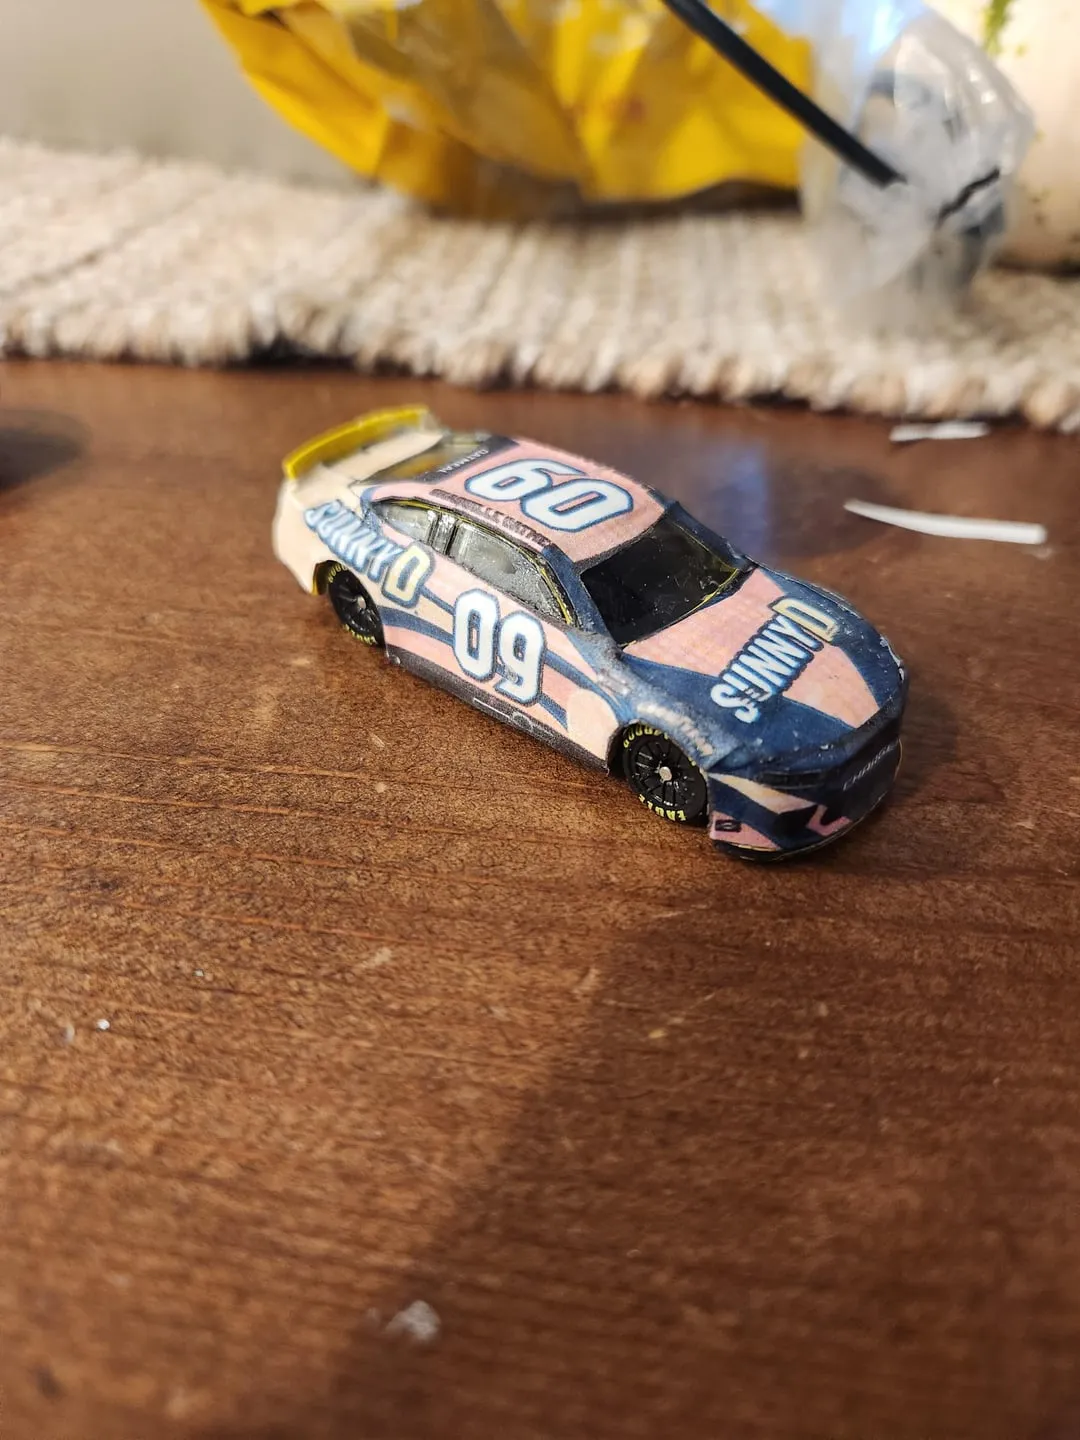
What is Custom NASCAR Diecast
Custom NASCAR diecast is the art of modifying and personalizing miniature NASCAR race cars. It involves taking a pre-made diecast model and altering it to create a unique piece. This can range from simple paint jobs and decal applications to complete overhauls that include engine modifications, chassis adjustments, and even driver and team recreations. The world of custom diecast is incredibly diverse, with enthusiasts focusing on everything from historical race cars to fantasy designs. It’s a hobby that combines artistic skill, technical knowledge, and a passion for NASCAR racing, resulting in highly detailed and personalized collectibles.
Benefits of Custom NASCAR Diecast
There are several benefits to diving into the world of custom NASCAR diecast. Firstly, it allows for a high degree of personalization. You can create a model that perfectly represents your favorite driver, team, or a memorable race moment. Secondly, it provides a creative outlet. The process of designing, painting, and detailing a diecast car can be incredibly rewarding, allowing you to express your artistic talents. Moreover, it’s a fantastic way to connect with other NASCAR fans. Online communities, forums, and local clubs dedicated to custom diecast collecting provide a space for sharing ideas, getting advice, and showing off your creations. Finally, customized diecast cars often hold a higher value than standard models, especially if they are well-executed and unique.
Materials Needed for Customizing

To get started, you’ll need a range of materials. Begin with a base diecast car, preferably in good condition. You’ll need various types of paint, including acrylics or enamels, as well as primers and clear coats. Decals, both pre-made and custom-printed, are essential for replicating sponsor logos and car details. Additional materials include various grades of sandpaper for preparing the surface, masking tape for creating clean paint lines, and various types of glues for assembly and detailing. You’ll also require detailing supplies such as fine brushes, paint pens, and weathering pigments to add realistic effects. Investing in high-quality materials will enhance the final result of your custom diecast project.
Gathering Tools and Supplies
Along with materials, having the right tools is crucial. A hobby knife or X-Acto knife is indispensable for precise cutting and trimming. Small screwdrivers, pliers, and tweezers are necessary for disassembling and reassembling the car. You’ll also need a cutting mat to protect your work surface and a well-ventilated workspace to avoid inhaling paint fumes. Airbrushes and compressors can provide a professional finish, but are not essential for beginners. Different sizes of paintbrushes, including detail brushes, are needed for applying paints and weathering effects. Magnifying glasses or a head-mounted magnifier can be helpful for intricate detailing work, while a dedicated workspace with good lighting is vital for precision and comfort.
Step-by-Step Guide to Customization
Customizing a NASCAR diecast is a process that requires patience and attention to detail. The following steps provide a basic framework, but individual projects may vary based on complexity. The key is to prepare the surface, apply paint and decals, and finish with a protective clear coat. The goal is to bring your unique vision to life with realistic, impressive results. By focusing on each step, you can create an amazing custom NASCAR diecast that is worth collecting or to show off to other fans.
Prepare the Diecast Car

The first step is to prepare the diecast car. This involves cleaning the model thoroughly to remove any dirt, grease, or factory coatings. Use warm, soapy water and a soft cloth, and ensure that the car is completely dry before proceeding. You may also need to remove existing decals using decal remover or warm water. For a smoother painting surface, gently sand the original paint using fine-grit sandpaper to create a slightly textured surface for better paint adhesion. Careful preparation is vital for ensuring that your custom paint job adheres properly and lasts for many years.
Disassembly and Cleaning
Disassembly is a critical step in the customization process. Carefully remove the car’s components, such as the body, chassis, wheels, and interior. Use small screwdrivers and pliers to detach these parts, taking note of how they fit together. Once disassembled, thoroughly clean each part to remove any remaining debris or residue. This may involve using a mild solvent or specialized cleaning solution. Proper cleaning and disassembly not only make painting easier, but also lead to a more professional finish. Taking the time to carefully dismantle the model ensures that you can reach all areas and get your diecast ready for painting.
Painting Techniques for Custom Diecast
Painting is the heart of the customization process. You can choose from various techniques depending on the desired outcome, including airbrushing, spray painting, or hand-brushing. Airbrushing offers the most professional results, providing an even coat with fine detail. Spray painting with aerosol cans is a viable alternative. When using spray techniques, apply thin, even coats of paint and allow each coat to dry before applying the next. Hand-brushing can be suitable for smaller details and touch-ups, but it requires a steady hand and high-quality brushes. Remember to always work in a well-ventilated area and wear a respirator to protect yourself from fumes.
Choosing the Right Paint

Selecting the correct type of paint is crucial for a durable and visually appealing finish. Acrylic paints are a popular choice due to their ease of use, quick drying time, and low odor. Enamel paints offer a more durable finish, but they take longer to dry and require more ventilation. For diecast models, consider using paints specifically designed for plastic or metal. Always use a primer before painting to improve paint adhesion and coverage. Clear coats are essential to protect the paint job and provide a glossy or matte finish, as desired. Choose paints that are compatible with your chosen application method, whether airbrushing, spray painting, or hand-brushing.
Painting Process
The painting process involves several stages. First, apply a primer coat to the prepared surface. This provides a base for your paint and helps it adhere better. Allow the primer to dry completely before proceeding. Then, apply the base coat of paint in thin, even layers. Avoid applying thick coats, as they can lead to drips and runs. After the base coat is dry, you can apply any additional colors or details using masking tape to create clean lines. Multiple thin coats are always better than one thick coat. Finally, apply a clear coat to protect the paint and give your model the desired finish. Allow ample time for each coat to dry before moving on to the next step.
Decal Application and Detailing
Decals are crucial for adding sponsor logos, driver names, and other details. You can use pre-made decals, purchase custom-printed decals, or create your own using decal paper and a printer. Cut the decals carefully and soak them in water until they release from the backing paper. Apply the decals to the model, smoothing out any air bubbles. For additional details, you can use fine brushes, paint pens, or weathering pigments. Weathering techniques can add a realistic, used look to the model. Detailing is a key step in bringing your custom diecast to life.
Applying Decals

Applying decals requires patience and precision. Carefully cut out the decals, making sure to trim away any excess clear film. Place the decal in a bowl of lukewarm water for about 10–20 seconds until it starts to slide on its backing paper. Slide the decal off the paper and onto the model, carefully positioning it where you want it. Use a soft cloth or cotton swab to gently smooth out any air bubbles or wrinkles. Apply decal setting solution to help the decal conform to the contours of the model and decal solvent to soften the decal. Once the decals are dry, apply a clear coat to seal them in and protect them from damage.
Detailing and Finishing Touches
Detailing adds realism and depth to your model. Use fine brushes or paint pens to add details such as headlights, taillights, and trim. Weathering techniques can be used to simulate dirt, grime, and wear and tear, adding realism to your model. Use weathering powders, washes, or dry brushing techniques to create these effects. Consider adding extra details such as seatbelts, roll cages, or other interior elements. The final touches bring your custom diecast to life and make it stand out from the crowd.
Reassembly and Final Inspection
Once the paint and decals are dry and the detailing is complete, carefully reassemble the car. Make sure all components fit properly and that no parts are missing or damaged. Use appropriate glues or adhesives to secure the parts. Once reassembled, inspect the model closely to ensure everything is aligned correctly and that there are no imperfections. Touch up any areas that need it, and apply a final clear coat for added protection and a professional finish. The final inspection ensures that your custom diecast meets your expectations.
Where to Find Inspiration and Resources

Inspiration for custom diecast designs can come from many sources. Start by researching real NASCAR race cars to understand the color schemes, sponsor logos, and details. Explore online galleries, forums, and social media groups dedicated to custom diecast models. Look for examples of work that you admire and take inspiration from their techniques and designs. Consider attending diecast shows or events to see other custom models in person and to connect with other enthusiasts. Don’t be afraid to experiment with different designs, color combinations, and techniques to find your own unique style.
Online Communities and Forums
Online communities and forums are invaluable resources for custom diecast enthusiasts. These platforms provide opportunities to connect with other modelers, share your work, and ask for advice. Popular platforms include dedicated forums, Facebook groups, and other social media channels. Participate in discussions, ask questions, and share your projects to gain feedback and learn from experienced modelers. These online communities offer resources for techniques, tools, and materials. Build relationships with other enthusiasts, and consider sharing your knowledge. Joining online communities is a great way to stay up-to-date on the latest trends and techniques in the custom diecast hobby.
Showcasing Your Custom Creations
After putting in the time and effort to create custom diecast cars, it’s rewarding to showcase your work. Share your models in online forums, social media groups, or dedicated custom diecast galleries. Enter your models in local or online competitions to get feedback and potentially win awards. Consider setting up a display at a local car show or hobby event. Present your models with pride, and take time to describe the inspiration, techniques, and materials you used. Showcasing your creations is a way to share your passion and connect with other NASCAR fans and diecast enthusiasts.