What is Diecast and Why Do It at Home
Diecasting is a fascinating metal casting process that involves forcing molten metal under high pressure into a mold cavity to create a net-shape part. This technique is widely used in manufacturing various products, from small toys to complex automotive components. Diecasting at home provides a unique opportunity to explore this intriguing process and create custom metal objects with relatively simple setups. It combines elements of artistry, engineering, and craftsmanship, offering a rewarding experience for hobbyists and those seeking a hands-on creative outlet. This guide will walk you through the essential steps, providing valuable insights to start your diecasting journey from the comfort of your home.
The Appeal of Diecast Hobbies
The appeal of diecast hobbies lies in its blend of creativity, precision, and the satisfaction of creating tangible objects. Hobbyists are drawn to diecasting for several reasons. Firstly, it allows for the creation of highly detailed and complex parts that would be challenging to produce using other methods. Secondly, the ability to customize and personalize metal objects provides a great sense of accomplishment. Thirdly, diecasting is a relatively accessible hobby that can be undertaken with a reasonable investment in tools and equipment. The hands-on nature of diecasting offers a welcome contrast to digital activities, allowing hobbyists to engage with physical materials and processes. Finally, the diecast hobby offers a community of like-minded individuals who share a passion for metalworking and craftsmanship.
Benefits of Diecasting at Home

Diecasting at home comes with several benefits that make it an attractive hobby. It provides a creative outlet for designing and producing unique metal objects, from personalized figurines to custom parts for other projects. It is also a fantastic learning opportunity, where you can explore the properties of different metals and develop valuable skills in metalworking, mold making, and finishing. The hobby is relatively affordable, especially when compared to commercial diecasting operations, allowing enthusiasts to experiment with various techniques without significant financial risk. Diecasting at home can be a source of immense satisfaction, transforming ideas into tangible creations. This also allows for a level of independence, enabling you to create custom parts without relying on external manufacturers, making it ideal for niche projects and personalized gifts.
Getting Started with Diecast at Home
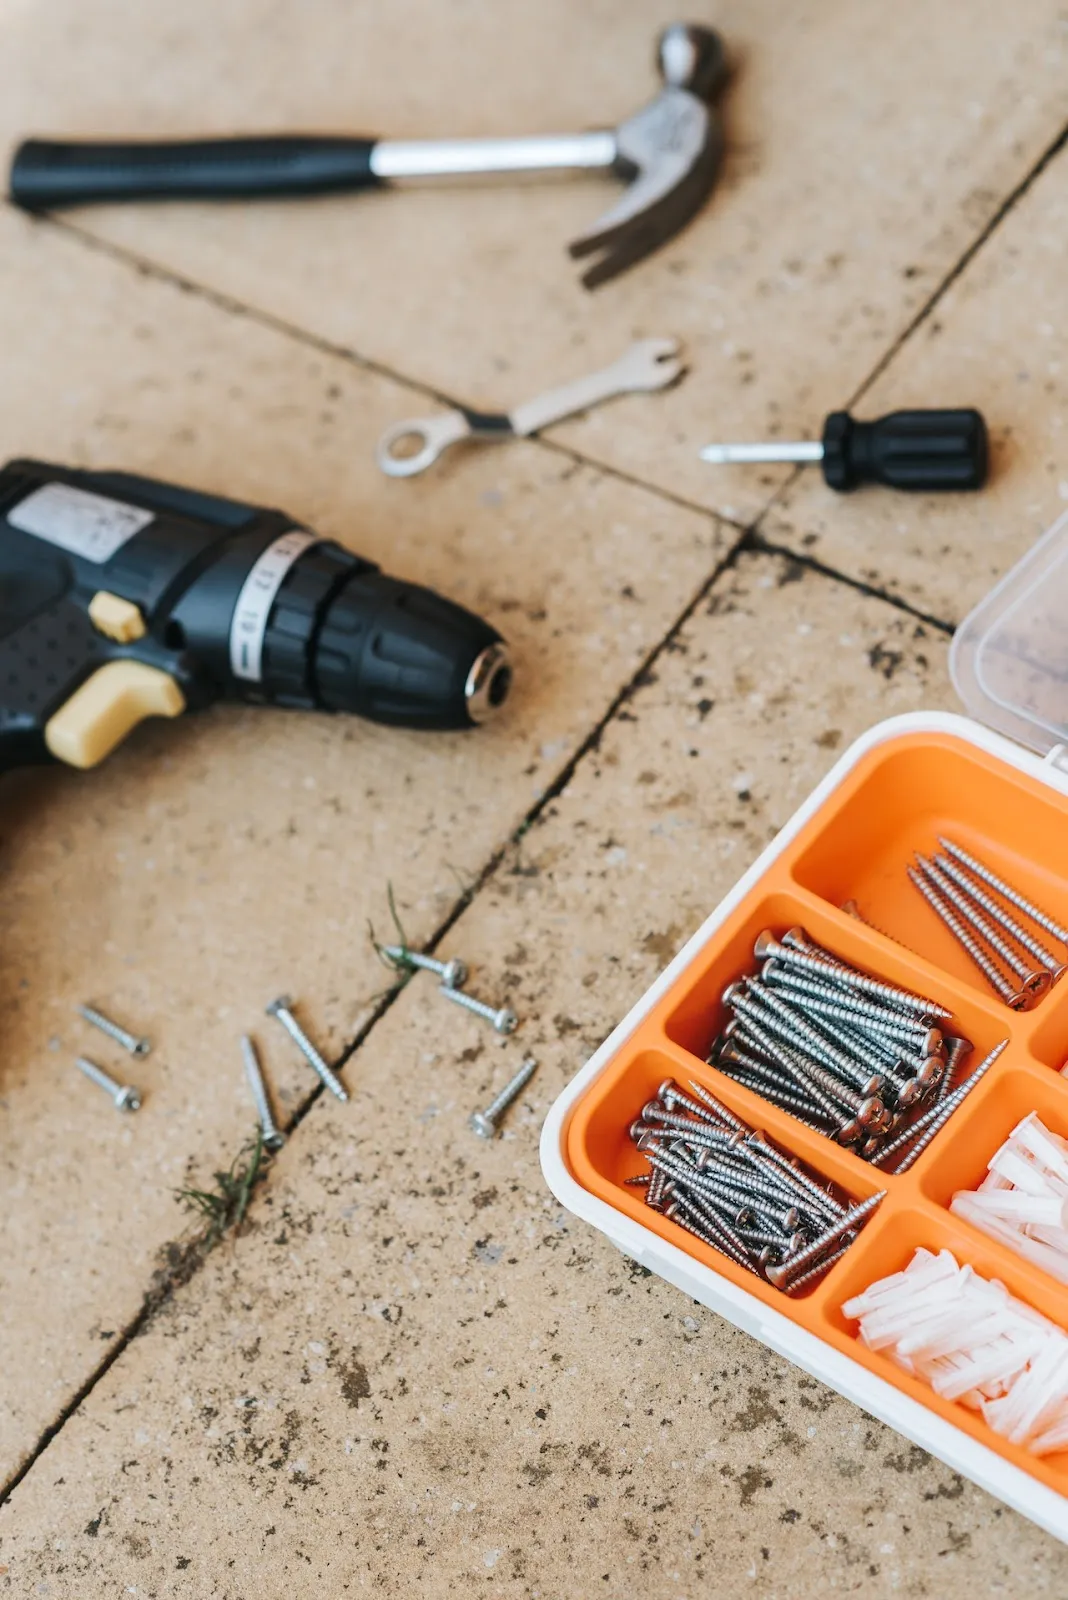
Essential Tools and Equipment
To get started with diecasting at home, you will need several essential tools and equipment. A melting furnace, capable of reaching the necessary temperatures to melt your chosen metal, is crucial. A crucible, typically made of ceramic or graphite, is used to hold the molten metal. A mold, which defines the shape of your casting, is also essential. This can be made from various materials like plaster of Paris or more durable options. Safety equipment, including heat-resistant gloves, a face shield, and appropriate clothing, is non-negotiable. You will also need tools for handling the molten metal, such as tongs and ladles. Finally, finishing tools like files, sandpaper, and polishing compounds will be required to refine your castings. A well-equipped workspace is vital to ensure that the diecasting process is safe and efficient.
Choosing Your First Diecast Project

Selecting your first diecast project is essential for a positive start. Begin with a simple design that doesn’t require complex molds or intricate details. Small figurines, simple pendants, or basic shapes like gears or buttons are excellent choices. Consider the level of detail and complexity involved; the simpler, the better for your initial attempts. Ensure that your chosen metal is suitable for the mold material you plan to use. Also, consider the size and weight of the project to ensure it aligns with the capacity of your melting furnace and the ease of handling. Before starting, create a prototype or a sketch of your design to visualize the final product. This will help you plan the diecasting process and anticipate any challenges that may arise. The best first project is something that allows you to learn the basics without getting overwhelmed by complexity. It’s more important to gain experience, so start with something manageable.
Safety First Precautions
Safety should be your top priority when diecasting at home. Always wear appropriate safety gear, including heat-resistant gloves, a face shield or safety glasses, a long-sleeved shirt, and closed-toe shoes. Work in a well-ventilated area to avoid inhaling fumes from the melting metal. Keep a fire extinguisher and a first-aid kit nearby in case of emergencies. Before starting, carefully inspect all equipment for any signs of damage or wear. Always handle molten metal with extreme care and avoid splashing. Never pour molten metal on a wet surface or into a container that contains moisture, as this can cause an explosion. Be sure to let all equipment and castings cool completely before handling them without safety gloves. Plan your workspace in advance to minimize hazards. Following these safety precautions will ensure your safety and contribute to an enjoyable and accident-free diecasting experience.
The Diecasting Process Step by Step
Preparing the Mold

Preparing the mold is a critical step in the diecasting process. The mold defines the shape and the features of your final casting. The mold can be created using various materials, such as plaster of Paris, silicone rubber, or metal. The choice of material depends on the metal you are using, the complexity of your design, and the expected lifespan of the mold. Before pouring the metal, ensure that the mold is clean, dry, and free of any debris. Apply a mold release agent to prevent the molten metal from sticking to the mold surfaces, which will make the casting easier to remove. Assemble the mold parts, ensuring that they are properly aligned and securely held together. It may be useful to preheat the mold to minimize thermal shock when the hot metal is poured.
Melting and Pouring the Metal
The melting and pouring of the metal is where the magic happens. Place the metal in the crucible and heat it in the melting furnace to the correct temperature. The melting temperature varies depending on the metal you are using, so always consult the manufacturer’s recommendations. Once the metal has melted, carefully skim off any impurities or dross that have formed on the surface. Using appropriate tongs and protective gear, carefully lift the crucible from the furnace. Then, slowly and steadily pour the molten metal into the mold cavity. Ensure a smooth and continuous pour to avoid air pockets and ensure that the mold is completely filled. This part is crucial to produce high-quality castings. Take your time, focus on safety, and enjoy the moment.
Cooling and Solidifying
After pouring the metal, allow the casting to cool and solidify inside the mold. The cooling time depends on the size and complexity of the casting, as well as the type of metal used. Avoid disturbing the mold during the cooling process, as this could lead to distortion or imperfections in the casting. To speed up the cooling process, you can use techniques like forced air cooling, however, be careful to avoid rapid cooling which could cause the casting to crack. Once the casting has completely solidified, you can carefully remove it from the mold.
Removing and Finishing the Casting

Once the casting has cooled, carefully remove it from the mold. This may involve disassembling the mold and gently separating the casting. Some castings may require some force to remove. Once the casting is removed, you can begin the finishing process. Use tools like files, sandpaper, and polishing compounds to remove any excess material, smooth rough surfaces, and refine the details of your casting. You can also use a variety of techniques, such as polishing, painting, or plating, to further enhance the appearance of your casting. Take your time and enjoy the process of bringing your creation to life.
Troubleshooting Common Issues
Dealing with Air Pockets and Imperfections
Air pockets and other imperfections are common challenges in diecasting. Air pockets can form when air is trapped within the mold during the pouring process. This can result in voids or weak spots in your casting. To minimize air pockets, ensure a smooth and continuous pour of molten metal and properly vent the mold. Imperfections can also arise from other factors, such as contamination, uneven cooling, or poor mold design. Addressing these issues involves careful attention to detail throughout the process. It’s always recommended to experiment and troubleshoot your approach, learning from each attempt. Proper mold preparation, including the use of a mold release agent, can also help to reduce imperfections. It’s common to have imperfections early on, so learn from each cast.
Addressing Surface Finish Problems

Surface finish problems are another common challenge in diecasting. Rough surfaces, pitting, or other imperfections can affect the appearance and performance of your castings. To address these issues, start by ensuring the metal is clean and free of any impurities. Then, review the mold’s surface quality and make sure it is clean and smooth. You may also want to consider using a mold release agent to aid in producing a smoother surface. After the casting has been removed from the mold, you can use various finishing techniques to improve the surface finish. These techniques include filing, sanding, polishing, or applying coatings. Practice and attention to detail are key to achieving a high-quality surface finish.
Resources for Diecast Enthusiasts
Online Communities and Forums
Online communities and forums are invaluable resources for diecast enthusiasts. They provide a platform for sharing knowledge, asking questions, and connecting with other hobbyists. Look for online communities and forums dedicated to metal casting or diecasting. You can find help with specific techniques, troubleshooting problems, and discover new ideas. Participating in such communities is a great way to accelerate your learning. These online platforms can provide feedback and support. Share your projects, ask questions, and engage with fellow enthusiasts. Joining online communities expands your horizons and enhances your enjoyment of diecasting.
Recommended Books and Guides
Recommended books and guides can provide in-depth knowledge and guidance for diecasting. Explore books and resources that cover the fundamentals of metal casting, mold making, and finishing techniques. Look for titles that offer step-by-step instructions, detailed illustrations, and practical advice. Reading these resources will provide a solid foundation. Many books feature advanced techniques, troubleshooting tips, and project ideas to inspire your creativity. Build a library of resources to expand your knowledge. Books and guides will supplement your online research and provide additional insights.
Taking Your Diecast Projects Further
Advanced Techniques and Materials
As you gain experience, you can explore advanced techniques and materials in diecasting. Experiment with different metals, such as aluminum, brass, or zinc alloys, each with unique properties and characteristics. Then, explore advanced mold-making techniques, such as using more durable mold materials. You can also experiment with different pouring methods, such as vacuum casting, or invest in more sophisticated equipment. Experimenting with these techniques can help you create more intricate designs. You can also discover techniques for improving the quality of your castings. These advancements allow you to expand your skills and push the boundaries of your creativity.
Showcasing Your Work
Showcasing your diecast projects can provide a sense of accomplishment and inspire others. Share your creations with the online communities, forums, and social media platforms. Consider participating in local craft fairs or exhibitions to showcase your work to a wider audience. Creating a portfolio of your work can help you highlight your skills. You can create custom websites, online stores, or galleries for your work. Presenting your diecast projects can also help you gather feedback. You can gain valuable insights for future projects.
Conclusion
Diecasting at home can be a rewarding and engaging hobby that combines creativity, skill, and craftsmanship. By following the steps outlined in this guide, you can start your diecasting journey. With practice and perseverance, you’ll be able to create amazing metal objects. Embrace the process, learn from your mistakes, and enjoy the satisfaction of bringing your ideas to life. Remember to always prioritize safety and have fun. The world of diecasting is waiting for you. Happy casting!